Monday, July 18, 2011

Ice Cream Ornaments


Looking for something fun to do with the kids? How about making some ice cream ornaments. All you need is some sculpey clay in fun colors and off you go!

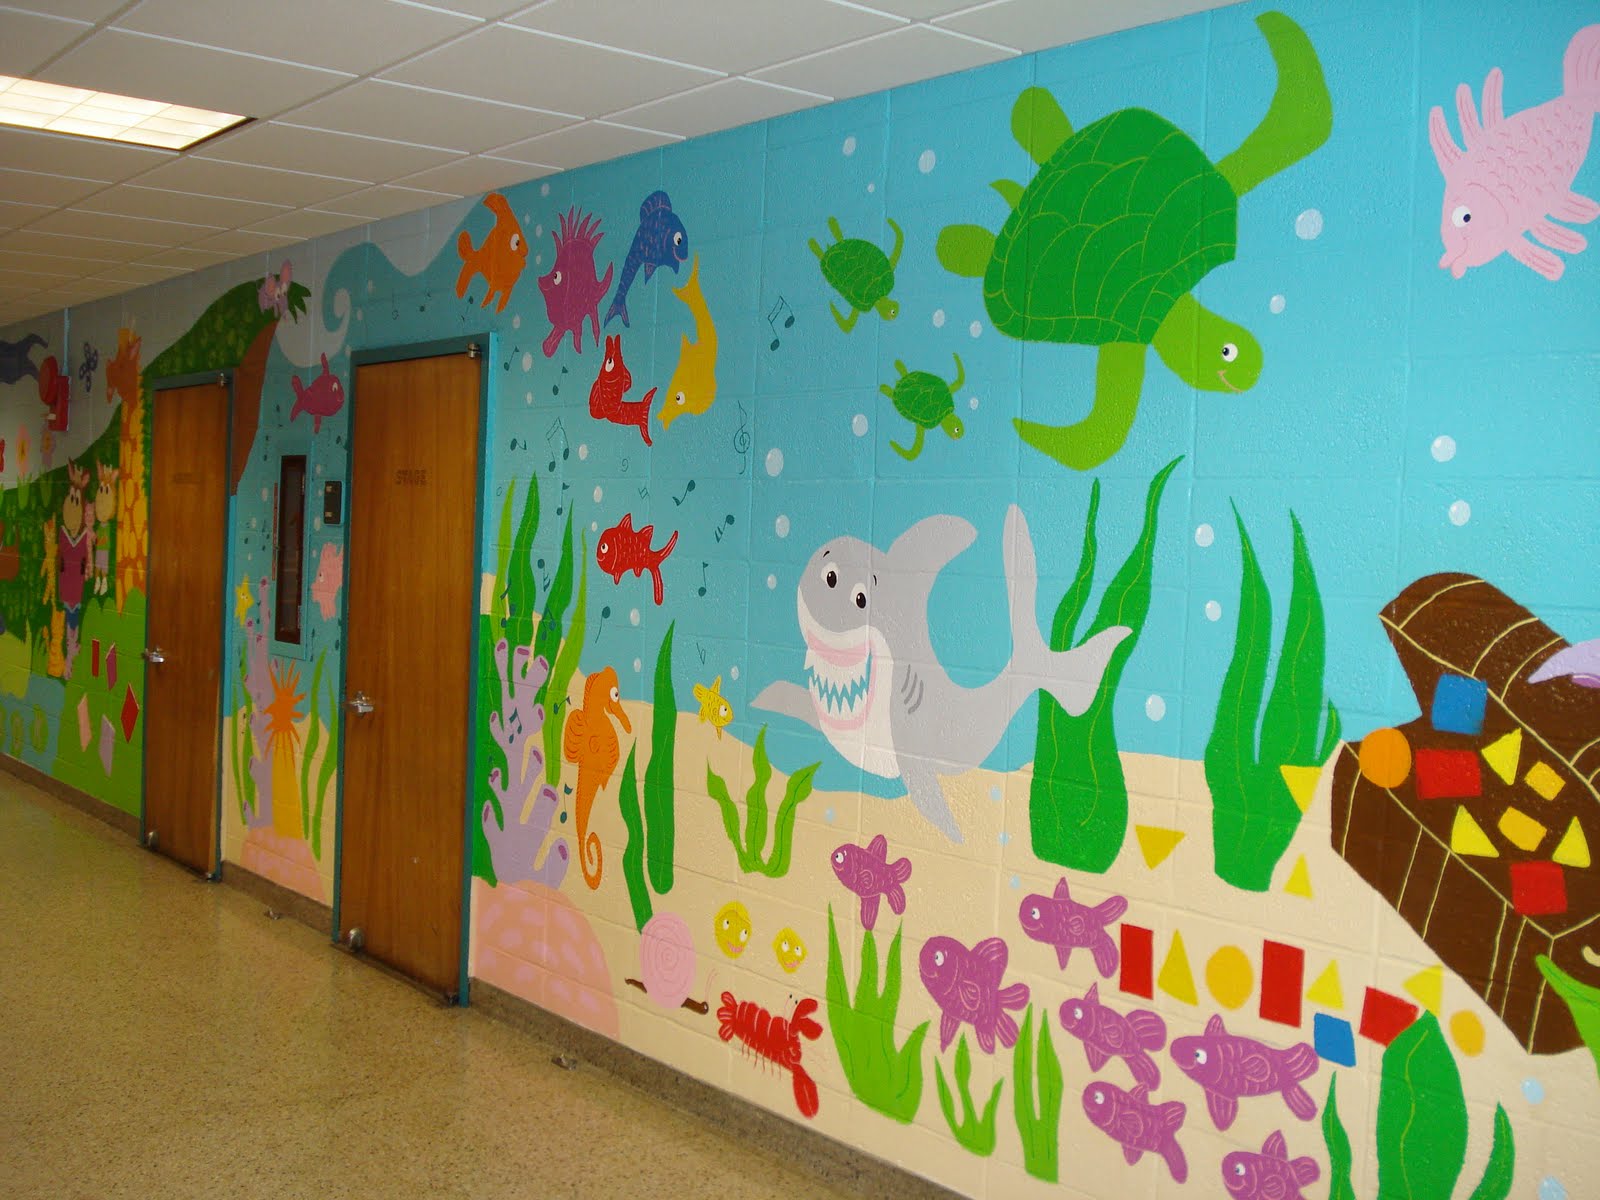
The Final Mural the other 50 feet!


This is the other end of the wall mural all completed.


In this undersea part of the mural fish dance to the tunes coming out of the coral.

The Final Mural

These are pictures of the finished mural.
It is about 100' long so it is hard to get it in one picture.
I am putting a series of pictures of the sections.

The mural wall starts out with a garden of huge flowers and the school banner. The focus of the school teaching is reflected in all of the imagery that went into the mural. We included a quote, "Children are the world's most valuable resource and its best hope for the future" by John F. Kennedy. One of my favorite things I incorporated in the mural design was that every student who worked on the mural "signed" it with their hand print in the grass. While I was helping them put their hand print on the wall I asked them to remember what was around their hand print so that when they grew up they could find their hand print. I hope it is on the wall a long time!


One of the funny things that happened with the garden part of the mural is that even though the students wanted broccoli in their garden. No one wanted to paint it!


Wall Mural painting in progress


Whew!!! The major school mural project took 6 months total to complete. Along the way I taught the students Gr 2-5) how to enlarge drawings using the grid method and ratio. They delighted in being able to be a part of the planning, brainstorming and painting. It was a great experience for the students, teachers and myself. This community project included over 200 people pitching in to paint and be a part of creating this work of art for the school. In the end it took a couple of months of detail painting on my own to make the final artwork sparkle. I hope you enjoy the murap progress pictures.

Monday, November 29, 2010

Thanksgiving Turkeys!


Thanksgiving would not be complete without the turkey! These little clay turkeys were done by some of the artist's at JFK Magnet School.

The project is easy to do in a classroom setting and the resulting birds are as unique as the students who created them.

Great work Mrs. Squillace's Class!!

Wall Mural in Progress


I am currently working on a mural project with the after school program at the JFK Magnet School. Working with 135 kids from Grade 2- Grade 5. The mural is about 100' long.

Wednesday, March 21, 2007

How I work with Sculpey clay


I am an illustrator creating images with polymer clay.
I wanted to talk a little bit about how I create my images. I start with a sketch and then the process is a little different. This is a rough sketch I did for a book. I mix the colors and roll out the Sculpey clay colors I want to use in the artwork. Sculpey clay mixes like you would mix paint. I cut out all of the different color clay and put it between wax paper until I am ready to model the artwork. I sometimes do this right after I submit the sketches since this part of the process can take the most time.

The different colors of clay are then put together and pressed firmly to make them stick. The darker green bush/trees behind the church building extends under the light green clay and is press together. All of the elements in the back ground are layered this way one piece of clay on top of the other. I add textures to the clay for the grass, bricks, bush, etc. and then bake the clay in my oven to make it hard. The stone like clay used for the path and the steps is called Graintex also made by Sculpey.

The fly and the bumble bee figures were made separately, baked and then attached at a height of 4 inches on top of the background to make the nice "flying shadows." The bug antenna are made from a huge bunch of color coated wires I found on a sidewalk once a long time ago. I knew they would come in handy some day! The final baked clay artwork is assembled and attached to foam-core board to transport to the photography studio. The artwork is lighted and photographed digitally. I love this part of the process working with the photographer to get the right look. The image can change dramatically based on the lighting, since it is a dimensional thing. I then bring the image into photoshop and "fluff it up" I added the blush on the flys cheeks, highlights in the eyes, additional music notes and hearts. The flight path was also created in as a shape in photoshop and made transparent. VIOLA!

Now the KILLER: The final artwork for this piece is 30" wide!!! I did the piece this big to keep the tool marks from looking like huge gouges when the book was printed at the big book size.